
Adding new pages
The 'Define New' button > Content Types > Blog
You can find the Content Type by clicking the 'Define New' button for a new page, or the 'Define' button for an existing page.
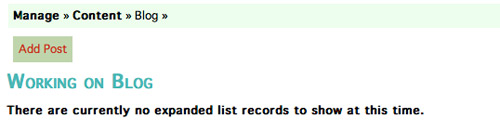
Many websites anymore either ARE a blog, or HAVE a blog on them. Our CMS system allows you to have that. The first screen you see when managing the content of a blog page simply tells you that you have no records to show yet. Let's go ahead and add the first post.
 Click Add Post to get started. Adding a post is a pretty busy screen, so let's take it one step at a time. Start by simply adding a title to your new post, and adding your name in the author field, or the name of whoever authored the post you're about to input.
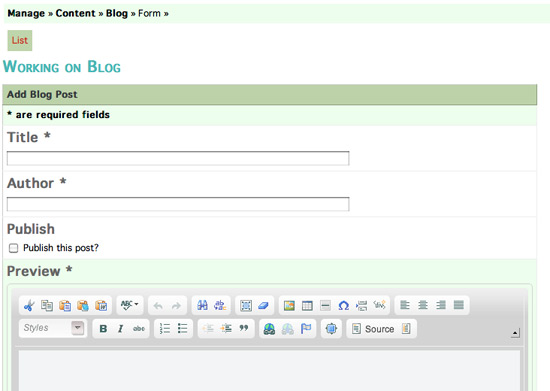
You have the option of not yet publishing the post live if you want to work on it for a while. If you're not yet ready to publish the post, leave the box unchecked until you're ready to do so.
If you've ever viewed a blog before you've noticed that the blog page usually just shows short snippets of each post up front on the page. Then if you want to read more of the post you have to click a button or link to read the full post and comment on it. That is how this blog is set up too. The Preview CK Editor box is just the summary text you want posted on the front page of the blog to entice your readers to click through to the longer version.
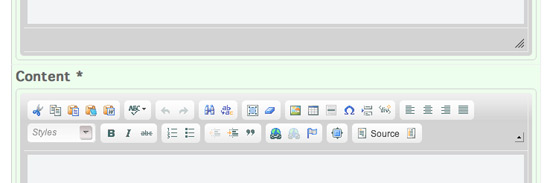

 Below the Preview CK Editor, you'll see a Content CK Editor window. This is where you type in the full text version of your blog post.
 Don't forget to save your post, even if you're not ready to publish it yet. Also, go ahead and take a look at your live site if you've published the post to see what it looks like.
 When someone leaves a comment on one of your blog posts, you must approve that comment before it will go live. This prevents malicious content from being posted on your site. To approve the comment, click the Comments button next to the blog post in your editor. If you are going to use this blog feature, it is important that you frequently visit the management section to check for unapproved blog comments, so you can approve them, if appropriate.