
Edit page content
The 'Manage Content' button > Add new Dealer package tables
The following only applies to RTV Dealer websites.
Adding RTV Dealer Packages To a General Content Page
Your site comes with some sample packages already, but you will probably want to add more packages, either to an existing page or to a whole new page. We have pre-built package templates that will easily help you do that. Open or create the page that you want to put a new package onto. If you are creating a new package page, make sure you nest it inside the packages folder in your CMS in order for it to have an 'Order a Tour' button appear at the top. The standard URL for package pages inside that folder begins with packages-. This means that the initial title of the page should look similar to this: 'Packages Residential Real Estate,' which would produce a URL like this: 'packages-residential-real-estate.'
 Then place your cursor on that page where you want the new package to begin. IMPORTANT! If the new package is to go below an existing package, and you want it to touch that package without a gap between them, you must place your cursor to the RIGHT of the existing package that you want above your new package (not below it). Watch the demo below to see that being done properly.


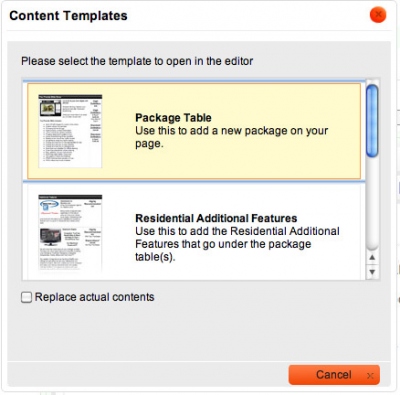 Click the Templates icon in your editor bar, as shown circled in red above. A Content Templates popup wil appear showing the four templates we have prepared for your use. The four package templates available are:
-
Package Table: Use this template to place one package table onto a page. For multiple packages, use it over again, as many times as you'd like. Remember, to place a package immediately below another package, place your cursor to the right of the package above it, not below the package.
- Residential Additional Features: For residential package pages, these standard additonal features are already laid out for you. Place your cursor to the right of the last package on the page, and then select the Residential Additional Features to place them below your package. You only need one Addtional Features table per page.
-
 Commercial Additonal Features: Same as the Residential Additional Features, but these are specific to commercial packages.
- Inventory Additional Features: Same as the Residential Additional Features, but these are specific to inventory packages.
 Now that you have your package tables built on your page, go back into each of the packages or additional features and edit the text and/or images to your liking.
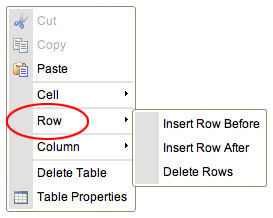 To add or delete rows in one of your tables, right click (Windows) or Control+Click (Mac) in the row you want to delete, or in the row above or below the row you want to add. Within that popup, select Row. Then insert a row or delete a row from the resulting selections.
As always, make sure you save your edits when you are done. If you leave the screen before saving, you will lose everything you have input.