
Adding new pages
The 'Define New' button > Content types > Image Gallery
You can find the Content Type by clicking the 'Define New' button for a new page, or the 'Define' button for an existing page.
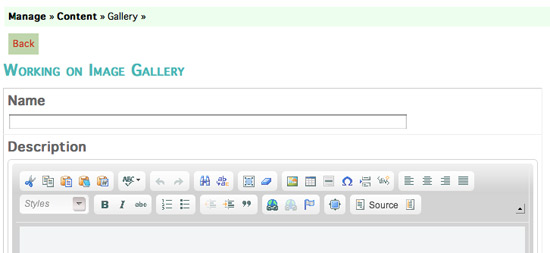
 When you click on Manage Content for an Image Gallery, you are immediately taken to a CK Editor called Description. This is important, so listen up. The Image Gallery will display a summary page on the live site if there is more than one album to display. If there is only one album, the summary page will be bypassed and the Image Gallery link will jump directly to the single album page on the live site. Again, this description field shown below will only show up on the summary page. If you upload a bunch of pictures into one album, then describe those pictures in the description field WITHIN that album, not here. Because this description field won't display unless there are multiple albums, leave it empty until you start working on a second album.

 Click on Add Album to start uploading pictures in your first album. The screen doesn't look much different, but notice that you now have a name field to name your album, and an 'Add Images to Gallery' button below the description field for uploading your images. Go ahead and type in the description of the pictures you're putting into this album.
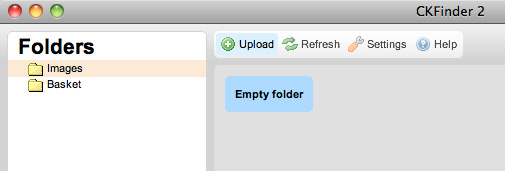
 In the popup window shown below, click the Upload button to start.
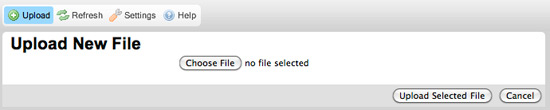
 Now pick Choose File to search your computer for the picture you'd like to upload. Once you've selected it, pick Upload Selected File to upload it to our server for your use.
Your image should then show up in the popup window where it previously said Empty Folder. All you need to do is click on it to select it and place it in your album. Once you've loaded a single album of pictures, go and take a look at your live site. Notice that clicking on the Image Gallery link takes you directly to that one album.
 Now if you have the need to, go ahead and load in a second album. When you're done, take another look at your live site. You'll see that the Image Gallery link takes you to the summary page showing both your albums. Now you can go back and put text into the main summary description to show up on this summary page.
If you are proud of the products or services that you provide, then show them off with an Image Gallery.
|
|
Embedding a Photo Album Elsewhere On Your Site
Did you notice the little "embed" toggle to the right of each album in your photo gallery page? If you check that toggle, a little popup window comes up on the right:
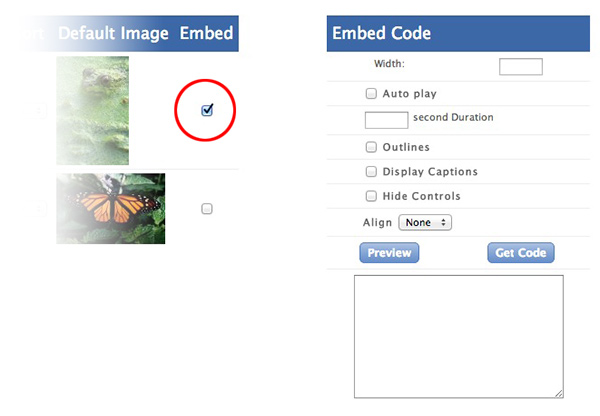
You are able to set the width, auto advancement speed, align it to a particular side of the page, etc. in this popup. The code given to you with the embed option (by clicking the 'Get Code' button) must be placed into the 'Source' code of any other page on your site. This can be easy to do by using the embed button in your tool bar on the page you want to embed the image album into. Hopefully, you've done it right and the embedded album will appear where you want it!
What you see to the right is what an embedded image album looks like.
|
|